Showing posts with label Star Wars. Show all posts

Friday, June 2, 2023

Chewbacca & C-3P0

 Another Midgard 3D print today - Chewbacca and C-3P0 (Cloud City). Awesome sculpt and print, but pretty difficult to paint in the same style as the movie. I painted this using mostly Vallejo, with some TurboDork Miami Sunset for the muzzle burn on the blaster. Just need a Cloud City Leia to buddy up with him!


Tuesday, February 28, 2023

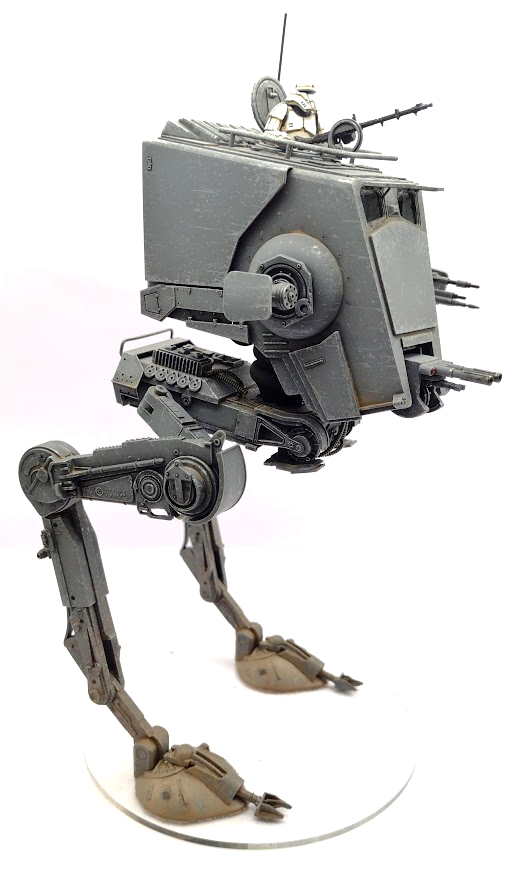
1/48 Bandai AT-ST Mk2

 This is my converted Bandai AT-ST in 1/48 (for modelers) or Star Wars Legion scale (for gamers). Started this build around December 2021 and finally finished it up.


I based this on artwork by Ukitakumuki on DeviantArt done for the Star Wars Galaxies card game. My headcanon is that this is an upgraded version of the base AT-ST incorporating features learned after the battle of Endor, allowing the walker to work more independently for longer periods of time, in a seek-and-destroy role.

I reinforced the inner thighs with plasticard and greeblies, added grabirons to the rear to allow easier crew access with wire, up-armored the sides of the chin with plasticard sheet, added additional detailing to the rear of the head with greeblies, a long-range antenna from a 1/100 M113, pintle mounted blaster from plasticard and a 1/35 MG34, and a combat commander using the head and arms from a Legion Occupier tank figure, torso and lower legs from a Legion LAAT pilot, and legs from a Tamiya Luftwaffe pilot. The rear of the head is removable to install a watch battery that powers the interior LED (difficult to see using my light box).

It was painted using Tamiya and Vallejo acrylics and the chipping effects are done by hand. I then applied an overall oil filter of Payne's Grey to blend the colors and tone down the metal chips. Once that was fully cured, I weathered it using oils and AK Interactive enamels.

I really enjoyed this build and highly recommend picking this model up, even for use in gaming. Once mounted on a clear base, it's very stable.


Wednesday, February 22, 2023

SWL Stormtroopers

Despite recent hardship, I've still been doing a lot of painting in an attempt to clear up my backlog, this time two squads of Star Wars Legion Stormtroopers. This is a mix of the Stormtroopers from the core set, as well as the Stormtrooper specialist expansion set. With the exception of the specialist box, these are fairly terrible figure sculpts with some odd poses and both sets suffer from the soft plastic they were molded in.
Initially, I laid down a lovely zenithally highlighted fresh white armor...that then had to be brush painted over because I realized how many mold lines I'd missed. I attempted to fix that by mottling the armor with white and grey flecks and overdid THAT as well!
The last resort of saving any paintjob is weathering, so these troopers went from pristine parade ground uniforms to muddy, dirty grunts. I did this by sealing each figure with Krylon flat clear, then using various acrylic paints and washes to add earthy tones, and then removing excess with Tamiya acrylic thinner, in the same way a lot of painters do the "Grimdark" style with enamels.
I hope you enjoy!


Saturday, January 14, 2023

SWL AT-RT

 Here is my heavily modified Rebel AT-RT. This is a Star Wars Legion model in 1/48 scale that's not a terribly great kit (poor fit, soft plastic, lack of detail) so I decided to spice it up a bit. I swapped the rider head with a head from the Inferno Squad and added a new control panel, trigger buttons to the grips, and a completely new pedal arrangement. I cut off the rear section and replaced it with wire antenna aerials, plasticard supports, and kitbashed details. I filled in the gaps between the engine piping, added more plasticard detail to the leg joint ends, and added a new power cable for the underslung blaster. I up-armored the front with plasticard and added a clear acetate 'windshield'.

The AT itself is painted using hairspray chipping. Unfortunately, I grabbed Tamiya Buff, instead of Tamiya Light Grey and didn't realize until I'd finished the chipping process! Panel accents were done in Tamiya Orange, hydraulics in AK Gunmetal, and the barrel scorching was done in my usual fashion. I weathered it using a combination of AK enamel washes and Secret Weapon/Reaper acrylic washes. The exhaust mainfold rust was achieved by hand chipping in metallics and reds/oranges, washing in acrylic Purple ink, and then dryblending in some Rust Red oil paint.
The rider itself was done using zenithal priming and glazing, with the exception of his skin, which was done using Vallejo Basic Skintone, Salmon Rose, & Grey Blue. His pants are much too blue! I wasn't paying attention and applied unthinned acrylic ink to it on the 3rd coat, so had a '40-year Old Virgin' "Now your pants are blue" moment! Oh well, happy accidents.


Friday, January 13, 2023

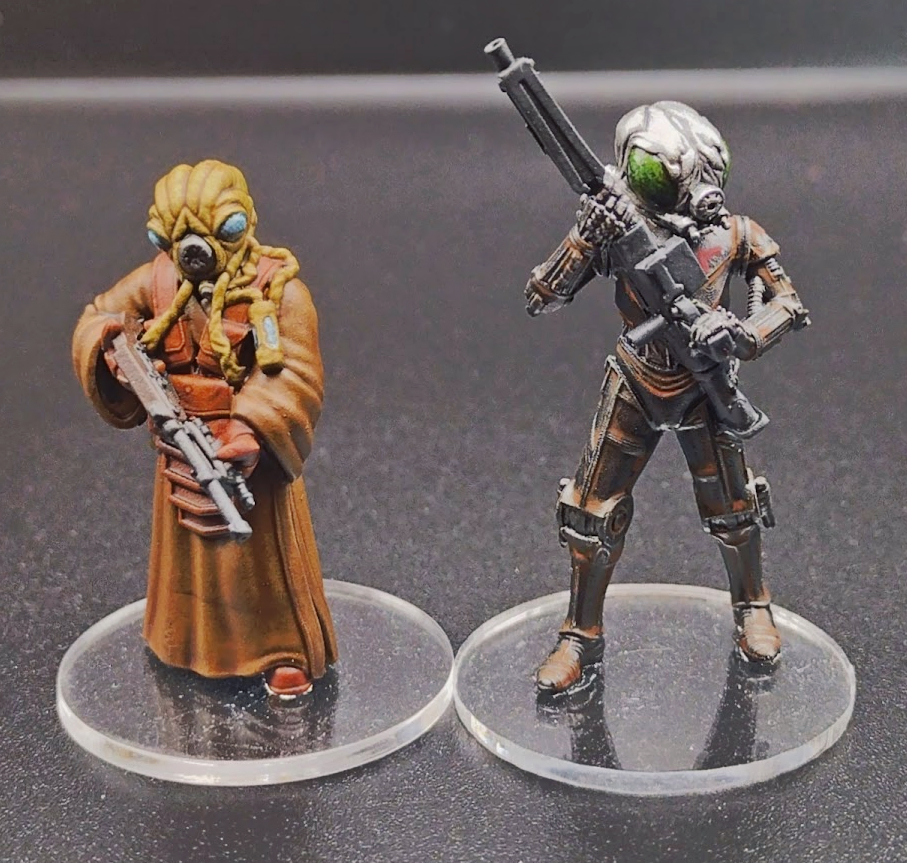
Zuckuss and 4-LOM

 Partners in crime! This is OmniForged - 3D Printed Miniatures renditions of the bounty hunters Zuckuss and 4-LOM featured in Empire Strikes Back. These two have been a favorite of mine since reading Tales of the Bounty Hunters way back in the 90s, so I sprung at the chance to have them in tabletop form.

Zuckuss was primarily painted using zenithal priming and glazing, with the exception of his eyes and mechanics. His species - the Gand - are interesting in that they breathe ammonia, so must wear a type of biomechanical rebreather outside of their homeworld. To capture that I tried to give him a slight greenish shading to his flesh and tubing (difficult to see in the pics).
4-LOM was primed black and painted with AK metallics. His body is a very muted metallic black, so after applying AK Gunmetal, I used a few glazes of Sequin Black metallic craft paint to really tone it down. To do the rust effects, I brushed the body with a clean water dampened brush and applied Vallejo Dark Rust. Once dry, I did the same but used Vallejo Light Rust. Once that was dry, I did the same but used a tiny amount of Vallejo Air Orange Rust in the deeper crevices and corners.
This duo was fairly straightforward to paint and I had fun doing them.


Thursday, January 12, 2023

The Bad Batch

 Finished up The Bad Batch last month but haven't had the chance to post until now.


My wife bought me my first proper light box for Christmas and it makes taking pictures so much easier. The diffuse lighting on these as opposed to my shop light setup provides for a lot less saturation and more depth of color, to the point where these required only cropping, contrast masking, and a few minor adjustments to levels to look true-to-life.

These are 3d prints I bought off of Ebay several months ago, so I'm unsure of the sculptor (If you recognize them, please let me know, so I can tag then, since they're great sculpts). The worn armor effect was done by priming in Krylon white, then hairspray chipping with a base of Tamiya 50/50 Sea Blue & Light Grey and then doing their unitards in Pavement grey, after which I applied an overall wash of Secret Weapon Soft Body Black to provide shadows and tone down the blue in the Tamiya paint.

I will go on record as saying that this project made me a fan of Vallejo Red which, prior to this, I found much too dark and desaturated. However, because handpainting all the lines on their armor required multiple thinned coats, I found built up the deep red color tone. Blasters were done in Vallejo Dark Grey and Black Brown, with Vallejo Air Aluminum chipping, washed with Black acrylic ink wash.

Echo's green helmet lighting is done using glazes of Vallejo German Camo Bright Green and Park Green. Hunter's shock dagger was done using glazes of Apple Barrel Golden Sunset (proving that yes, you can use craft paint to achieve cool effects!). Crosshair's sniper barrel burns were done by (going from base towards tip) with AK Gunmetal, AK Astral Beryllium, and finally TurboDork Laserface.

Tech's white suit was mostly done with an airbrush and zenithal shading of Tamiya White & Light Blue. He was given the same unitard, red accents, and blaster colors as the rest. I opted not to OSL his wrist computer (done in Vallejo Turquoise) since he didn't need a pop of color!

The skulls are all old GW Cadian waterslide decals, which I'm unfortunately running low on. After doing all the handpainted red lines, I opted not to handpaint the Aurebesh '99' on anyone but Wrecker's helmet.

I hope you like these. They were fun to paint, look great, and will make great "Rebel special forces" on the tabletop.


Monday, December 19, 2022

Paint Queuemas Day 7: Heavy Lift Droid

"On the seventh day of Paint Queuemas...."


Today's entry is a Wall-E inspired Heavy Lift droid. I converted this from a Zvezda Disney Planes "Drip" loaded model. I used the chassis base, track assembly, and loader assembly and added a body, engine, and grabber claws made from plasticard and ledtover bits.


As I wanted this to look heavily weathered, I used a metallic primer and then applied a thin coat of Tamiya Black overall. Due to the gloss surface of the primer, hairspray isn't necessary for chipping and scratches (but the model requires sealing right after to avoid unwanted damage). I then painted the treads in Dark Grey, dry brushed with Vallejo Air Neutral Grey and paint the metallic accents in AK Astral Beryllium. The lenses are Tamiya Orange, Vallejo Park Green, and Vallejo Red.


Since I wanted this droid to look like it works in a dingy starport, I applied an overall oil filter of dark grey, let that thoroughly cure for a couple days, then did an oil pin wash in a sandy grey. The drive gears got a light wash of AK Enamel rust wash. When all that was cured, I went back in and dryblended the sandy grey oils along the bottom chassis and around the treads, building up opacity over several layers. Since oils can be easily reactivated if not fully cured, this is a long process but the results are nice if you want to replicate caked dust.


I mounted this on a 2" clear acrylic base for easier handling because I'm wary of breaking one of the arms picking it up that way.


Thursday, December 15, 2022

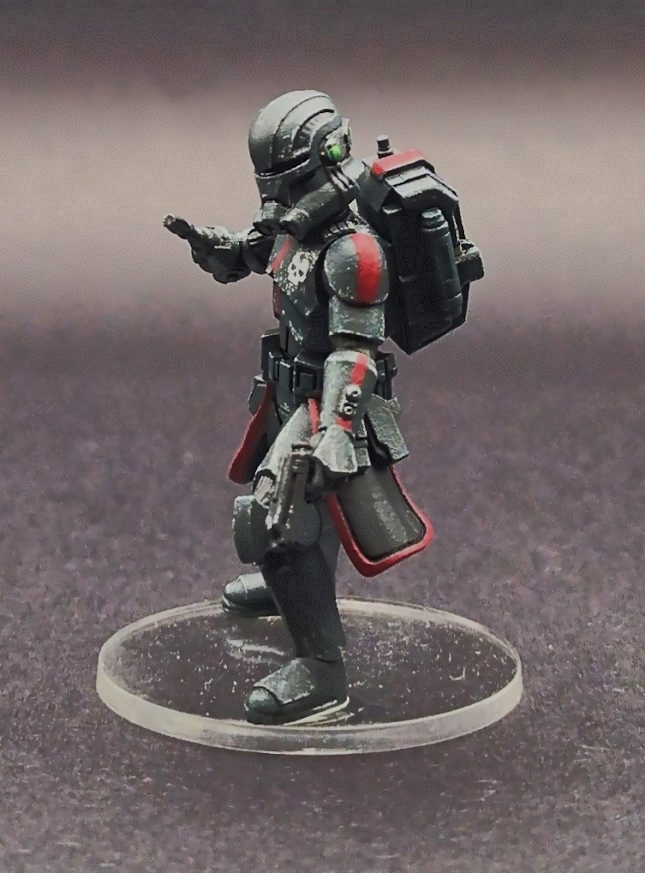
Paint Queuemas Day 3: Imperial Special Forces

"On the third day of Paint Queuemas...."


Today's entry is a unit of Imperial Special Forces. This is a newer Legion kit, with harder plastic and less mold lines, which was a real blessing. Very little cleanup and a straightforward assembly process.


They're all primed in dark grey, and I edge highlighted the flight suit with Vallejo Air neutral grey before applying two coats of Secret Weapon Soft Body Black wash. This provides so contrast without making the suit look dull. The armor was then painted in TurboDork Black Ice. Helmet lenses were painted in Vallejo Air Orange Rust (it has good brightness) and then given two coats of red acrylic ink wash, with the final coat being applied along the outside rim of the lenses on the helmet, providing a faint flow effect.


I then painted the blasters in Vallejo Dark Grey, added some chipping and wear using Vallejo Air Aluminum, and washed them in SB Black. The sniper and specialist weapons' barrels were given a burnt look by applying AK Gunmetal, AK Astral Beryllium, and TurboDork Laserface, and then blended with a dilute wash of Purple ink. Life support pack details are painted using Vallejo Red and Park Green.


I received the helmet decals from Little metal spaceship on Etsy and they went on easily, with a little cutting and decal set.


Stay tuned for tomorrow's post!


Wednesday, December 14, 2022

Paint Queuemas Day 2- Speeder Bikes

 "On the second day of Paint Queuemas..."


Today are 2 74z Speeder Bikes. These weren't terribly great models - the riders don't sit well without some cutting and I had to add a small piece of plasticard to the front of the bike where the steering vane poles connect to give it the proper gap. I also drilled out the air intake. 


The scout troopers were a real b***** to paint, as I started from grey and paint up to white, while I came to the horrible conclusion that my Vallejo Cold White was chalky. To alleviate this, I heavily thinned it out with glaze medium, which helped, then threw the bottle in the trash. To get the armor finish correct, I applied Tamiya Clear to it. 


I wanted to give the bikes themselves some visual punch, and decided on a dazzle camo scheme of Tamiya German Blue and 50/50 mix of German and Field Blue. I then painted the exposed machine parts in dark grey with Gunmetal accents and gave them an overall black wash. I added wear and damage by hand chipping with Vallejo Air Aluminum. The seats and handles are Vallejo Camo Beige (to mirror the trooper's boot soles), washed with GW Earthshade. I then used oils to give it a pin wash and light weathering. When finished, I added the laser burn effect to the blaster cannon using AK metallics and TurboDork Laserburn.


Overall I'm happy with this. If I do Scout Troopers again, I'd really like to do them in the olive green scheme I've seen floating around in fan art circles, as I think it's more in keeping with their doctrine (at least on leafy vegetation worlds).


Stay tuned for tomorrow's post!


Tuesday, December 13, 2022

Paint Queuemas Day 1 - Jyn Erso

 "On the first day of Paint Queuemas...."

Well, here it is folks - the first of 12 straight days of me finishing out my painting queue for the year and posting them up. First off was finishing out the Rogue One crew in 1/48 scale with the plucky and resourceful Jyn Erso.
This figure is the first figure I've painted almost entirely using zenithal priming and multiple glazes. I'm trying to get through my old GW contrast paints so the majority of this figure is multiple layers of Camo shade and Earthshade. I picked out the checking on her jacket arms with Vallejo Medium Olive and the gunmetal accents are all AK Gunmetal. I painted her face using traditional acrylics, all Vallejo - Flesh Flesh, Basic Skintone, Salmon Rose, and Old Rose with a VERY light wash of GE Flesh shade to tone down transitions. I wanted her gaze to be focused on what she's hitting with her baton, so it was tricky getting her pupils painted in the same direction!
Really pleased with how the crew turned out and these are probably my favorite of the Legion character sculpts.
Be sure to come back tomorrow for more!


Sunday, July 31, 2022

SWL Darth Vader


Star Wars Legion Darth Vader

(Note - I did notice and fix the improperly shaded red highlight on his codpiece after I took these pics!)

Really enjoyed working on this figure though, due to his consistently dark tones, it was technically challenging. Like the Deathtroopers, this was another figure I did using glazes, working my way up from a medium tone grey into straight black. His armor plates are done in Turbodork's Black Ice and the 'leather' portions of his suit are coated in Tamiya Clear to give them a semi-gloss finish. Armor details are done in Vallejo Gunship Gray, Vallejo Oily Steel, Tamiya Park Green, and AK Gunmetal.

The lightsaber was very tricky. A lot of painters so the highlights in a pinkish white, but I really wanted mine to have a more fiery tone, so I opted to highlight from yellow into red. 

The red OSL is mostly Vallejo Red and Tamiya Red, heavily thinned to glazes and then I toned the transitions down by applying a wash of Secret Weapon Red Black (a wash I've grown to love and I'm unsure what I'll do when it runs out)


Monday, July 25, 2022

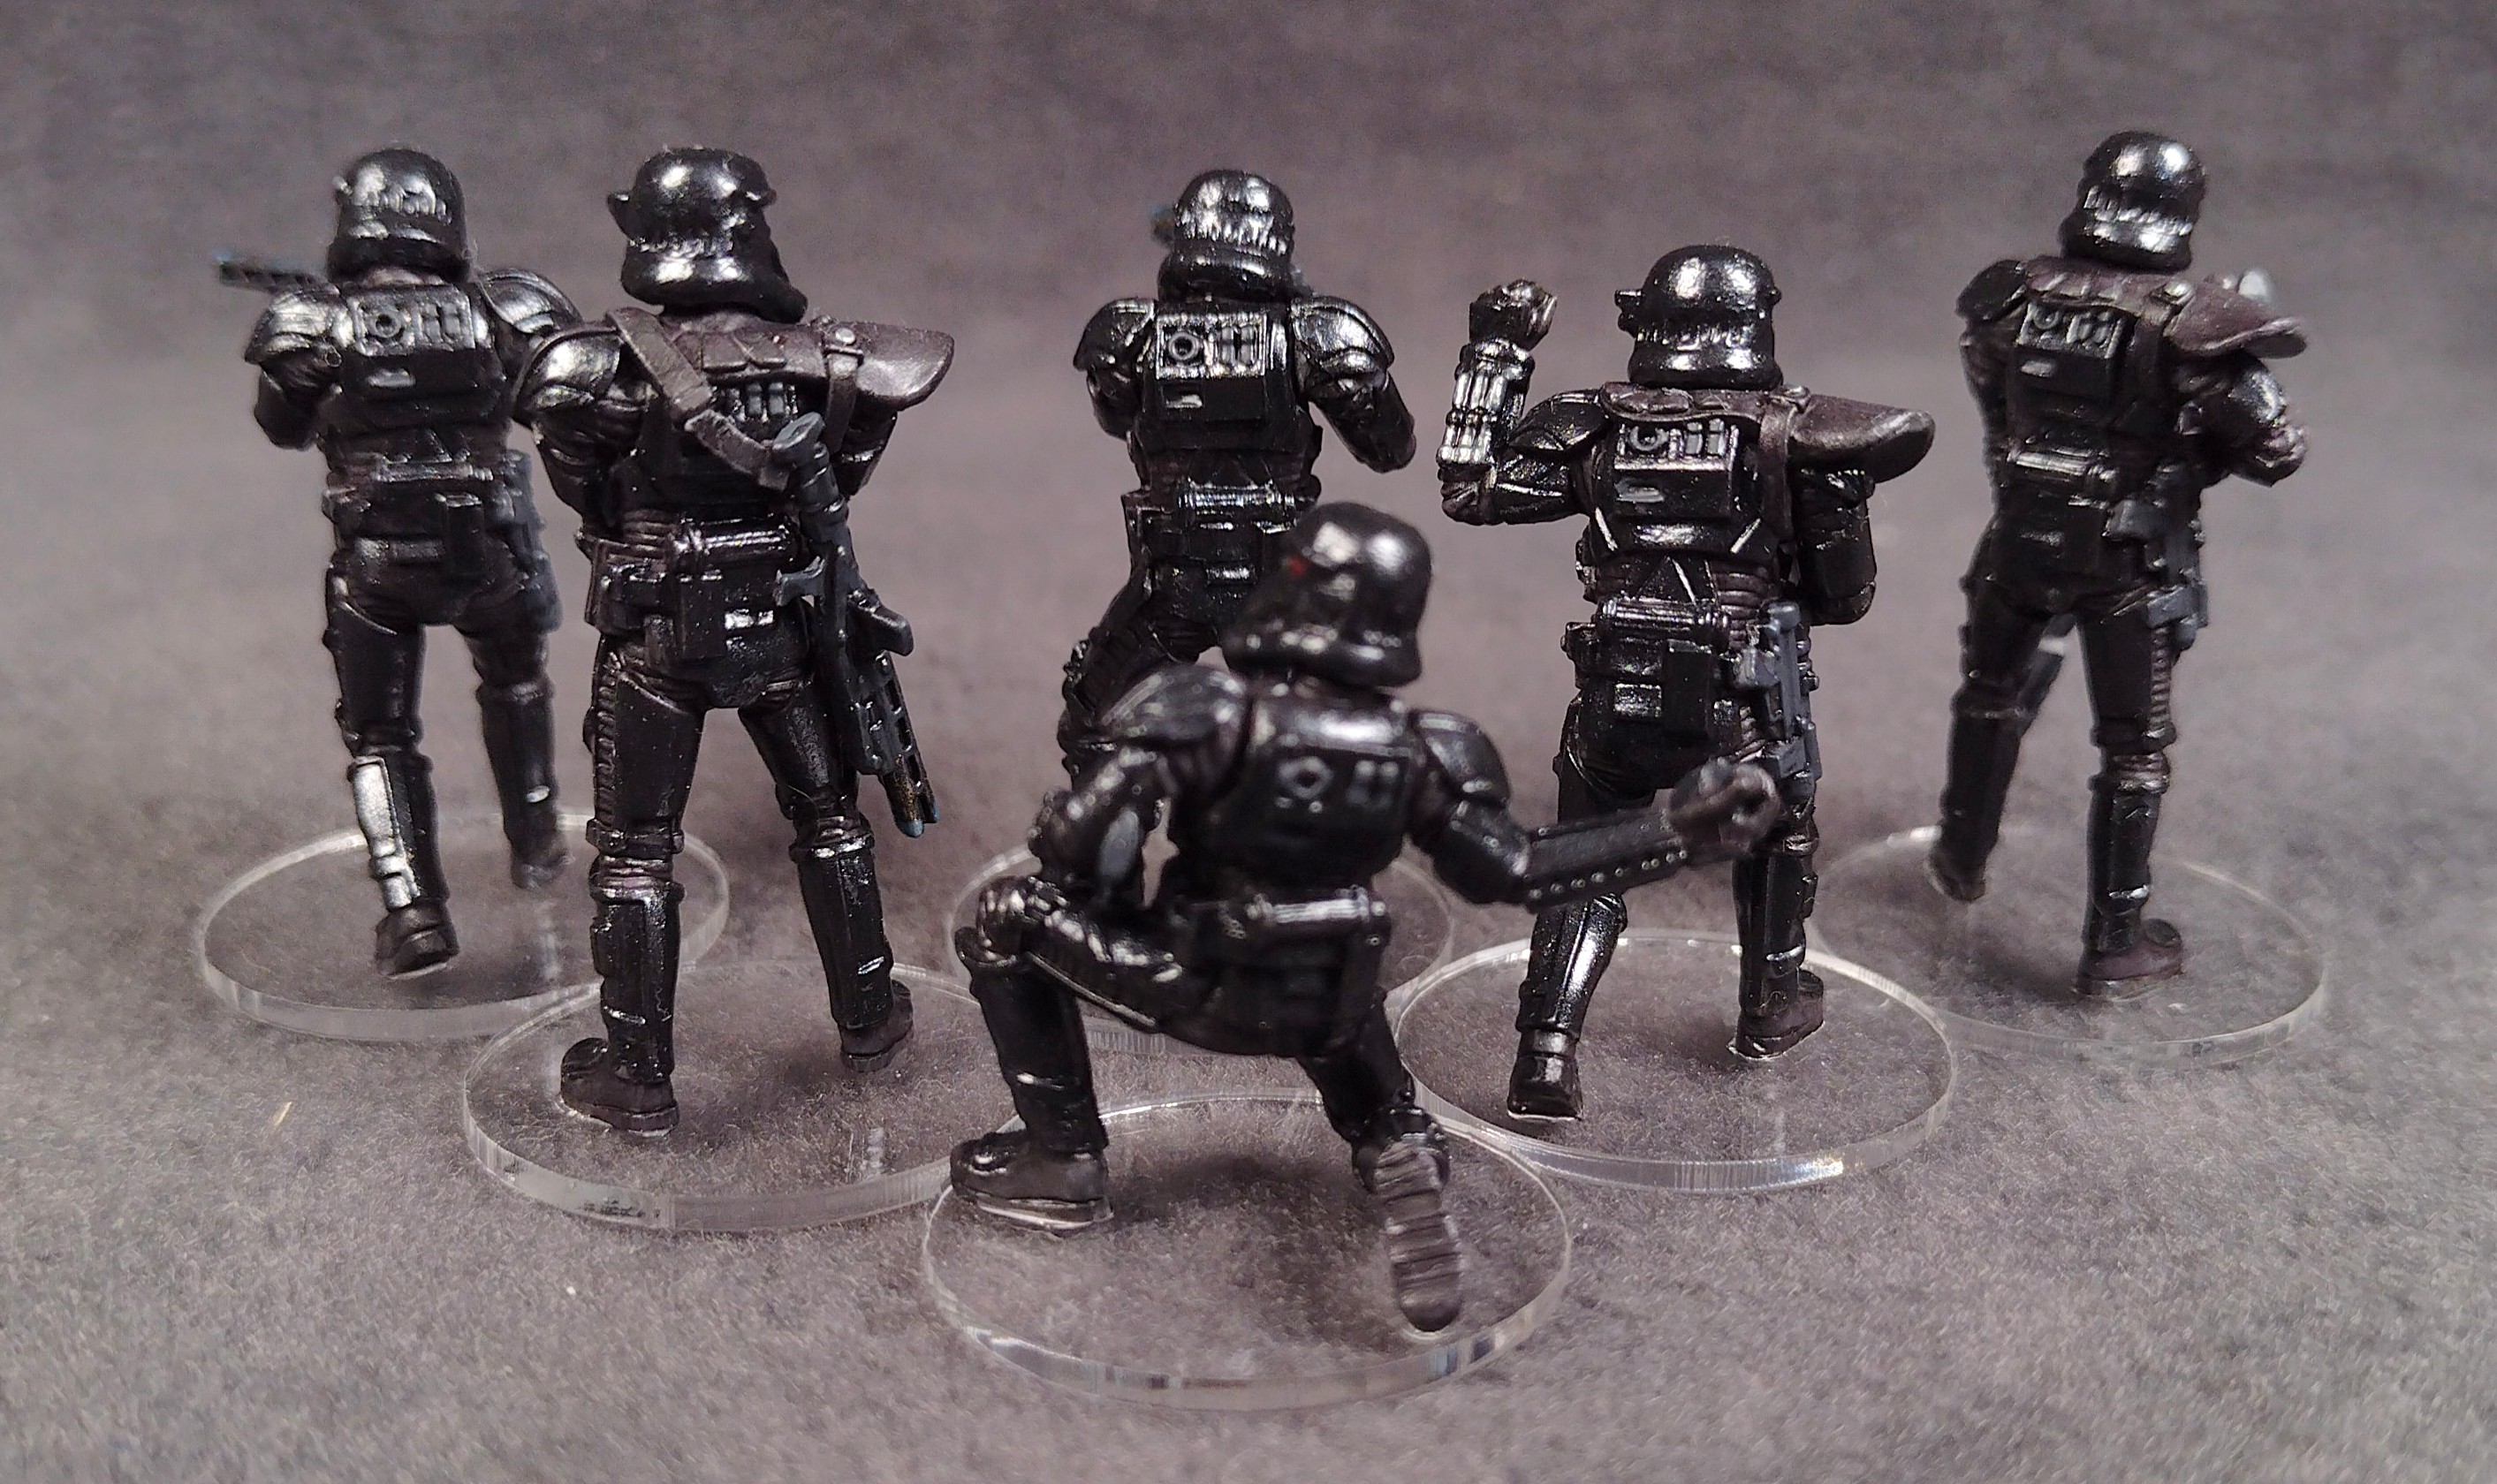
SWL Deathtrooper Unit

Star Wars Deathtrooper Squad

More Legion figures, more new painting techniques. This time I wanted to try a new approach to painting black by applying multiple washes of black and purple. While purple may seem like an odd choice, because the DTs are so dark overall, I wanted a color that would make their body gloves and pauldrons stand out whole still being "black" from a distance. 

I started with grey primer and added multiple washes of Secret Weapon soft body black and GW purple wash (about 12 in total). Instead of dark green lenses on the helmets, I did dark red. Their gloss black armor is painted using Turbodork Black Ice. To achieve the scorched metal effect on the gunbarrels, I used several thin layers of Turbodork's aptly named Laserburn with a final application of AK Astral berrylium.


Sunday, July 24, 2022

SWL Cassian Andor and K2-S0

Cassian Andor and K2-S0 from Star Wars: Rogue One 

Both of these figures are experiments in new techniques. For K2, I used a metallic primer and then airbrushed his Tamiya navy blue basecoat over it - without chipping fluid. Due to the gloss nature of the primer, the basecoat can be chipped with a toothpick for a worn metal look.  To set the finish, I airbrushed Tamiya clear over it, which also gives his armor a semigloss finish. Details are picked out using Vallejo and AK acrylics.

Cassian is zenithal primed and then painted using filters (basically watered down acrylics), which is a quick and easy way to achieve the first level of highlights and shadows. I learned this technique from the modeler Nightshift on Youtube. I really tried to mimic Diego Luna's skin tones and hair color accurately.


Thursday, November 21, 2019

Bandai 1/12 scale K2-S0


Sorry for the delay in updates everyone. If you haven't already heard EoG is moving soon, so that isn't very conducive to keeping my hobby going regularly. This wonderful 1/12 scale K2-S0 droid was the last major project I finished last month and just haven't gotten around to taking some nice glamour shots.

This is my first "large-scale" Japanese figure kit and it was both a pleasant, and frustrating, change of pace from the kind of stuff I normally do. The neck, arm, wrist, hip, and leg joints are all fully poseable; except for the feet, which I glued to the base to keep the figure stable since its quite top-heavy. I assembled this in smaller sub-assemblies at first to make it easier to prime and paint.

The thing I like about Star Wars is the grittiness of it, so I really wanted to make this model look worn without getting too far from the source material. As such, I primed the model in Krylon grey spray primer, hit it with a few coats of hairspray, and then airbrushed a 50/50 mix of Tamiya Black and Sea Blue. Once that dried, I used water to add a chipped paint effect along edges and points of articulation.

I picked out bare metal parts in Vallejo Oily Steel with a light wash of Secret Weapon Soft Body Black. The lighter and darker grey areas are Pewter and Pavement Grey, respectively, with the "warning" areas being Tamiya Lemon Yellow, with a slight coat of hairspray added between each layer to give it a mottled, worn effect. Weathering was done almost entirely with oil washes. To replicate the buildup of dust and dirt in crevices, I added dry pigment to the oil wash. The base itself was from an old Dust model - I ripped out the plastic bottom, glued in a metal washer for weight, primed in Krylon Rust Red, hit it with some hairspray, and then airbrushed it Tamiya Flat Black. I added the caution markings and script decal from an ancient Robotech model (the Star Wars universe has a funky alphabet and that came close enough).