
So, during a large event at Adepticon, a friend suggested I try Too Fat Lardies' game "What A Tanker!". Intrigued by his description, I tracked down a copy, read it, and then had the insane idea of "Hey, I should do a giant game with lots of friends for my 40th birthday!". If you know me for any amount of time, this is not surprising - I am slow to change habit and will often get stuck on one game/activity for months at a time; only to find something new and go all in. Think big! Fortune favors the bold! Well, here we are. So I assembled 7 other guys and their AFVs and we all learned What A Tanker!. In one afternoon. With 8 people and over a dozen tanks. Did I mention no one had ever played this game before?
Another thing to know about me is I have a good amount of terrain and tables...but they're all 4x6'. That's good for 2 players, tight for 4, unfeasible for 8. So I made my main table bigger by putting a small folding table on the short edge, propping my sawhorses on wood and bricks and running 8' studs on the long side with some OSB over that. Don't worry; I thought about wobble and I had a solution - duct tape it all together. It actually worked too - during takedown I noticed that one wood stack had been kicked out from under a sawhorse but it hadn't moved an inch.

Groundwork applied. I threw a lot of rolled up towels and doormats under the table to try and give some variation in height, ending with a long U-shaped ridge and some smaller undulating hills.

Terrain done. I used my 4x6' Eastern Front table as a basis, adding in some elements from my Frostgrave table as well. 8x6' is a lot of tablespace, not necessarily to fill, but to make look visually appealing and cohesive. I hope I achieved that here.

The initial setup - the Soviets attack from the right, while the Germans are setup on the left. Each player was allotted about 30pts each, choosing from tanks available during 1943/44. To try and speed things up, I used one suit from a playing card deck corresponding to the number of players to determine sequence of play in each turn. Each side was also given one full hand of Tanker Cards, with one card playable each turn for both sides. The lineup was as follows:
Soviets - 6x Lend-Lease Sherman 75mm, 2x T-34, 1x IS-2 mod 1944
Germans - Jagdpanther, Panzer IV G, 2x Panther G, Tiger I E, Panzer III J, Nashorn

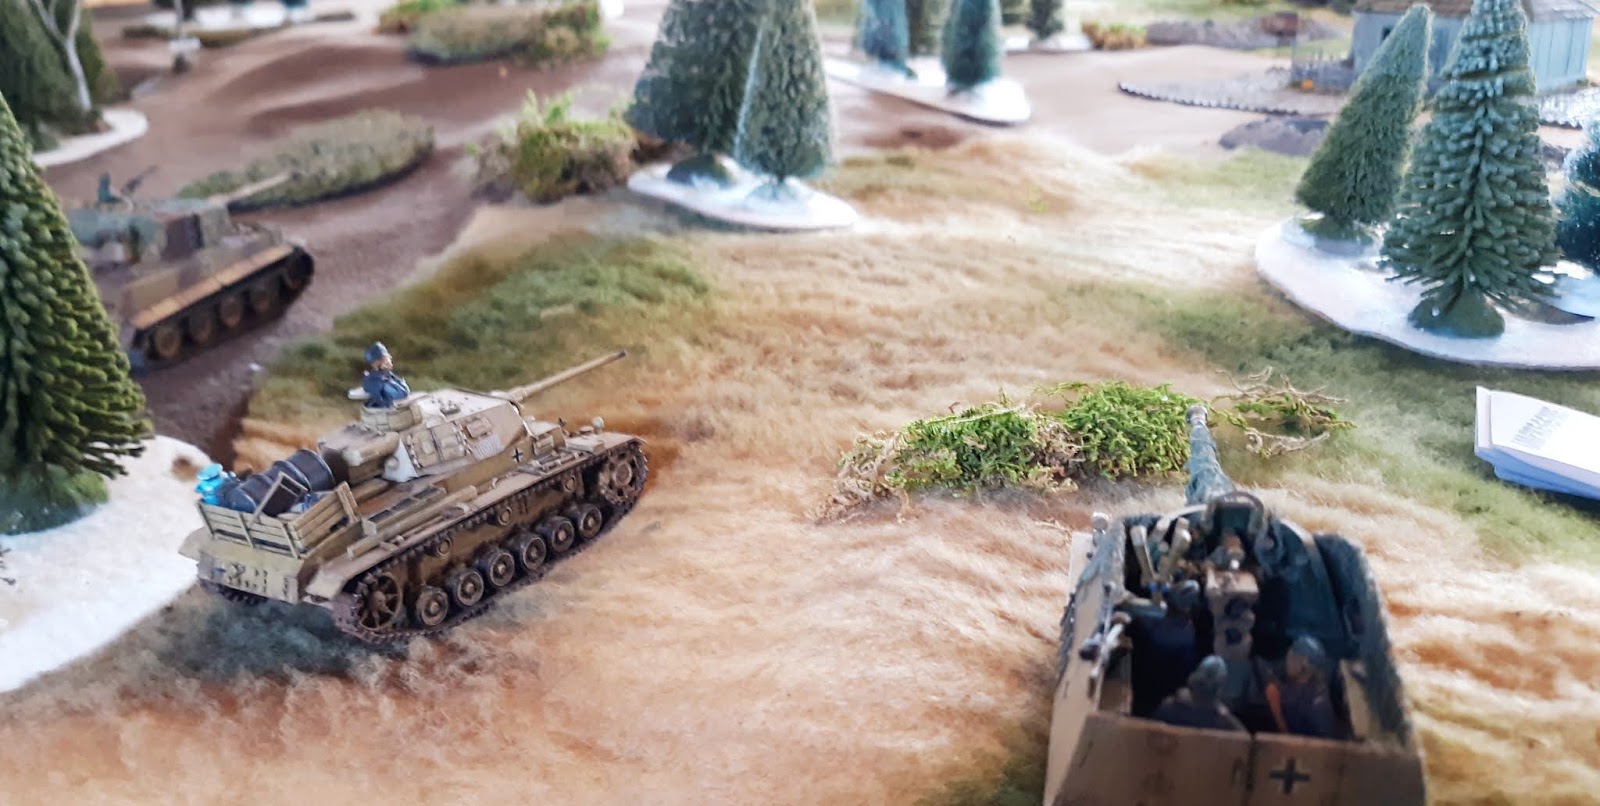
My Pz III J and Nashorn deployed on the German right flank. Though I thought I had taken up a good firing position with the Nashorn (while keeping the J in reserve to assist as needed), it wouldn't destroy anything until moving forward late in the game.
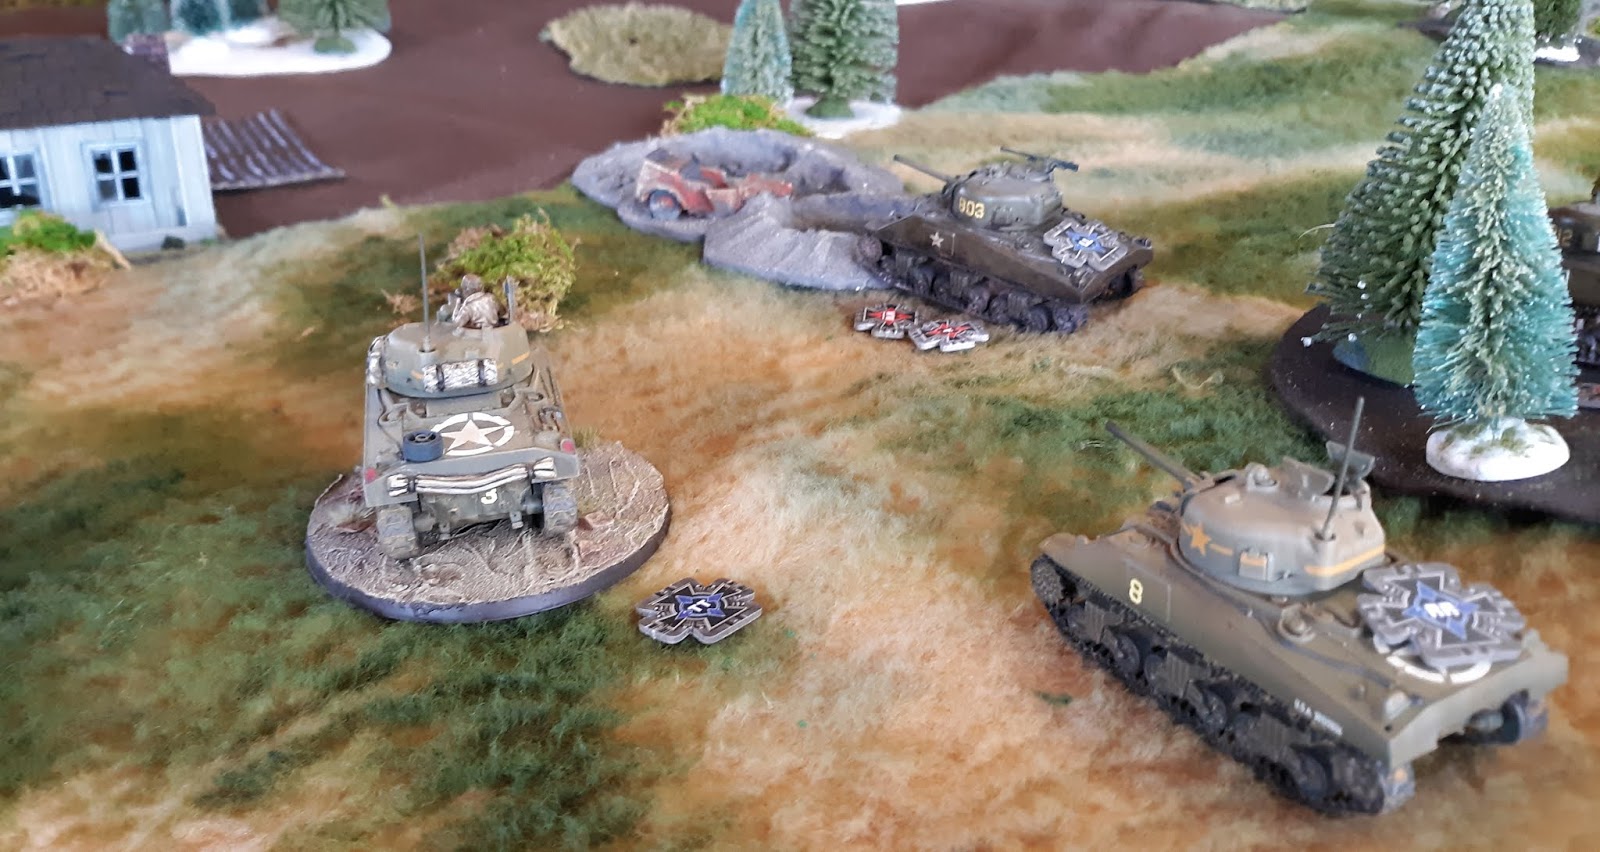
Lend-Lease Shermans moving forward on the Soviet left flank. B & T played this group very aggressively, constantly moving forward and pressing the advantage.

The mighty IS-2 on the Soviet right flank during Turn 1 (if you have a copy of the Fortress Budapest book for Bolt Action, you can find a better picture of this exact tank within). In true Soviet fashion, S used this as the Anvil to his T-34s Hammers - the Germans on this side of the table we constantly wary of being hit with its 10D6 worth of Strike Dice.


Turn 1 consisted of a lot of ineffective fire and this is the position of each AFV going into Turn 2...

By Turn 2, most LL Shermans had advanced past 1/3 of the table, with onejust about the halfway point. They are taking a lot of harassing fire from...

the Panthers which have moved up to take position just behind the low ridge in the center of the German area. These became an issue for the Soviets, who pounded the ridgeline yet struggled to dislodge them.

The IS-2 and T-34s moving aggressively on the German left flank. S took full advantage of the T-34 Fast rule - using that to constantly convert one Command Dice to drive, even if he already had other Drive dice (this becomes a BIG problem for the Jagdpanther in the final 2 turns...).

By the end of Turn 2, almost all of the LL Shermans had been targeted by the German AFVs, yet had suffered no losses. Things are looking rather grim for the Wehrmacht commanders...
Turn 3 from the Soviet side. Unfortunately, the Germans had 2 commanders drop out due to time constraints - the Panthers having to retreat from the field completely. In the spirit of fair play, the Soviet commanders pulled two undamaged Shermans from the field as well. Unfortunately, they had already left the Panzer IV G burning, leaving the Jagdpanther to defend the German left flank alone.


With 2 full turns of ineffectual firing, I decided to become more aggressive with my tanks. Unfortunately, the Command dice were not in my favor. During Turn 3 & 4, I would find that the Nashorn would get drive dice when it needed gunnery dice or vice versa. The J is now moving up to cover for it, finally popping one of the LL Shermans cowering behind a wood!

In an attempt to be more aggressive with everything, we forgot that the Jagdpanther was all alone and moved it forward, attempting to get it closer and clear its field of fire. However...


S took full advantage of this, moving both T-34s forward during Turn 3, 4 & 5, firing on the go and attempting to surround it, a la Fury. In the end, this is how it ended up, neither tank doing much of anything, although the threat posed by the Jagdpanther's deadly gun was completely neutralized.

Turn 4 - the Tiger has moved out of hiding to assist the J. However, B cleverly used the Hell Driving card to scoot around and BEHIND(!) the Tiger just before it fired. This fight became frantic, with both sides maneuvering and jockeying for position....except for that one in the upper right....

The Nashorn moves up to the ridgeline the Panthers had abandoned and finally gets a kill - one of the T-34s (visible just barely through the woods) on the German left flank. Unfortunately, it is subsequently damaged by that Sherman I mentioned above, losing 2 command dice. After attempting to fall back, it is KO'd in Turn 5.

Everyone gets it from behind! By Turn 5, the Shermans had moved into position, but so did the Panzer III. Yet...still another turn of largely ineffective firing.

Well, that's all folks! 5 hours in and this is where the group ended up - with two burning wrecks on each side and hangovers to nurse the next day. Going into this game completely blind, we all enjoyed it, learned from it, and would gladly lay it again over some of the other tank combat games currently on the market. We realized too late that we had been doing damage wrong (not really counting Temporary damage) and its difficult to tell if that would have made the game faster or slower in hindsight.

I wonder how this would work in North Africa.....
2 comments:
I love the terrain and models, nicely done!
WaT does work better if you play the damage right, as a lot of Temp damage makes the hit vehicle slower and difficult to get a shot in. I knocked out a Tiger 2 with 1 permanent damage, and 5 Temporary, after which the crew bailed out.
PS: I have a better points system and a solo system on our club website http://herkybird.tynesidewargames.co.uk/misc.html
Seems like a fun game, and you managed the problem of needing a big table very well.
And happy birthday!
Post a Comment