Have you ever wanted to replicate those great little cardboard barricades from the Necromunda:Outlanders boxed set? How about if it only took ~5 minutes?
What you'll need:
Step 1:
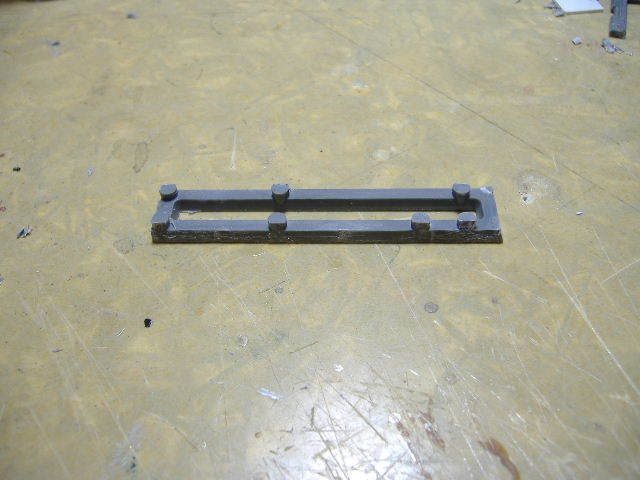
Snip out the close parallel sprue in the middle of most of the CoD terrain sprues. Cut down and sand of any flash. I like to keep the injection pins attached to the sprue to provide structural integrity (and because I'm lazy) but you can get rid of them. Be sure to keep the slight angle in the sprue - DO NOT SAND IT TO A 90 degree ANGLE! When you're done it should look like this:
Step 2:
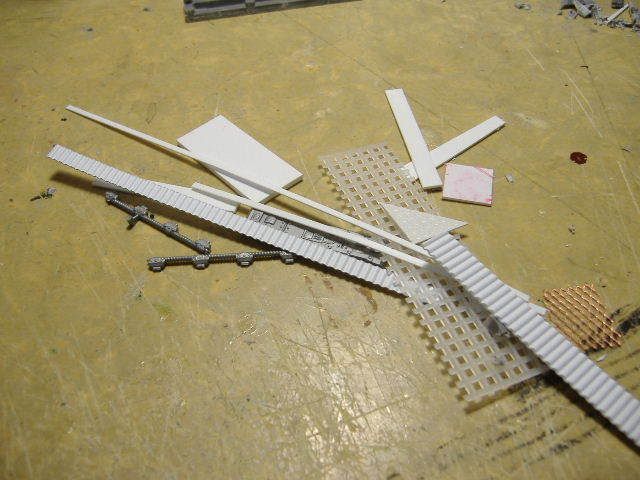
Gather up your various plasticard scraps and bitz:
Step 3:
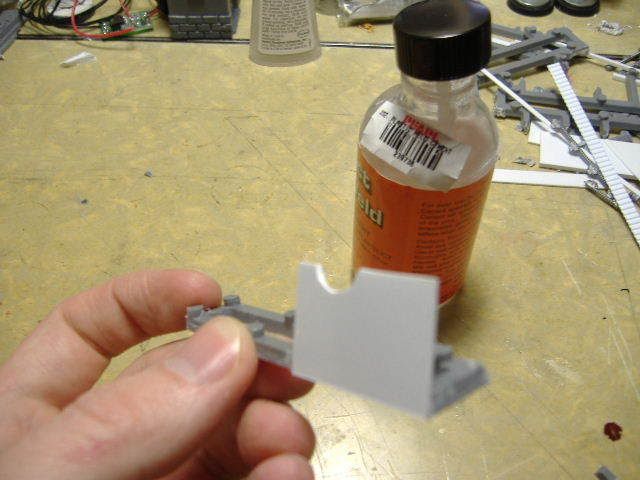
Starting on one side, glue down your scraps until the sprue base. It's a good idea to have a certain general height in mind when assembling. Mine are about waist height on a typical 28mm GW mini.
Step 4:
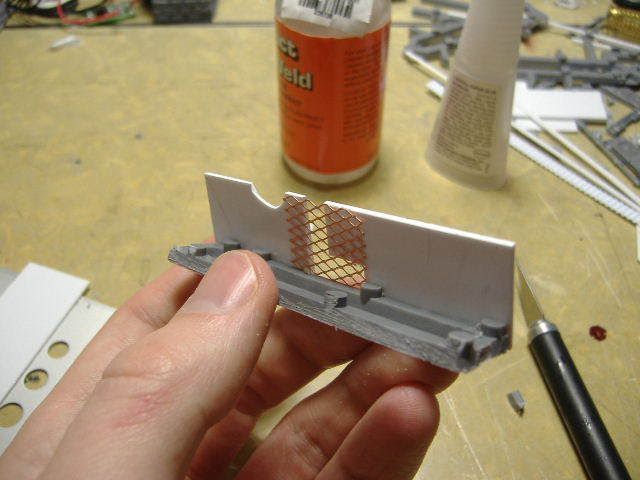
You can alternate different plasticard pieces, bitz, and textures to make it more convincing.
Step 5:
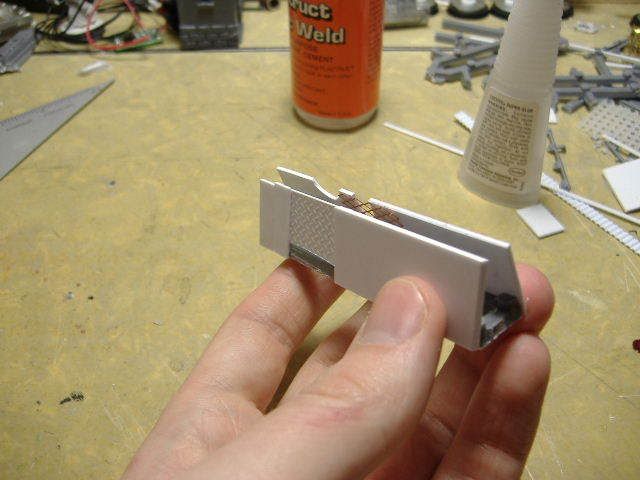
When you have both side assembled, you'll notice that they slope gradually inward - just like the Outlanders kind! Like this:
Step 6:
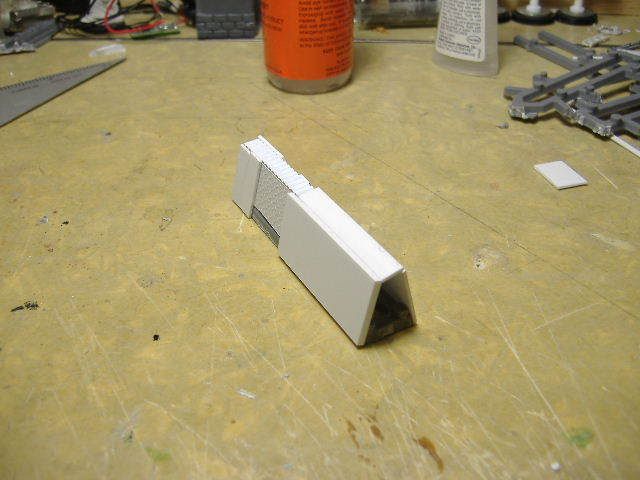
Using another scrap of plasticard, fill in the gap between the sides:
Step 7:
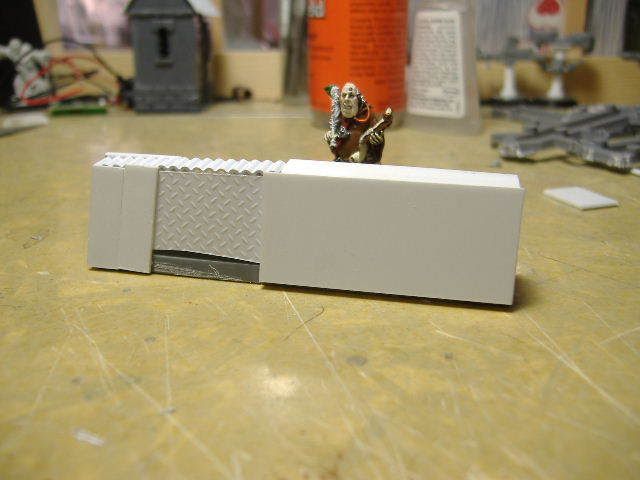
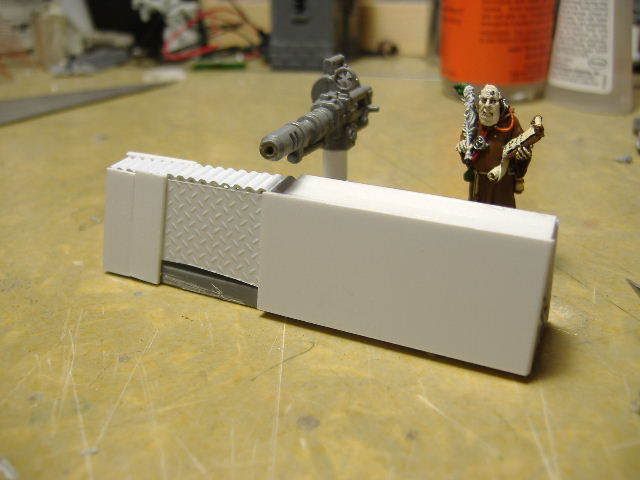
That's it! Feel free to embellish your barricade w/ rivets, spikes, whatever
What you'll need:
- CoD Wall Sprues
- Plasticard scraps, gubbinz, interesting bitz, etc.
- Xacto Knife
- Sanding file or Nile file
- Plastic glue, Plastic Weld, and/or CA glue
Step 1:
Snip out the close parallel sprue in the middle of most of the CoD terrain sprues. Cut down and sand of any flash. I like to keep the injection pins attached to the sprue to provide structural integrity (and because I'm lazy) but you can get rid of them. Be sure to keep the slight angle in the sprue - DO NOT SAND IT TO A 90 degree ANGLE! When you're done it should look like this:

Step 2:
Gather up your various plasticard scraps and bitz:

Step 3:
Starting on one side, glue down your scraps until the sprue base. It's a good idea to have a certain general height in mind when assembling. Mine are about waist height on a typical 28mm GW mini.

Step 4:
You can alternate different plasticard pieces, bitz, and textures to make it more convincing.

Step 5:
When you have both side assembled, you'll notice that they slope gradually inward - just like the Outlanders kind! Like this:

Step 6:
Using another scrap of plasticard, fill in the gap between the sides:

Step 7:
That's it! Feel free to embellish your barricade w/ rivets, spikes, whatever


No comments:
Post a Comment